Follow this guide for creating an account and start generating your content with Rext AI.
Start Creating Your Account
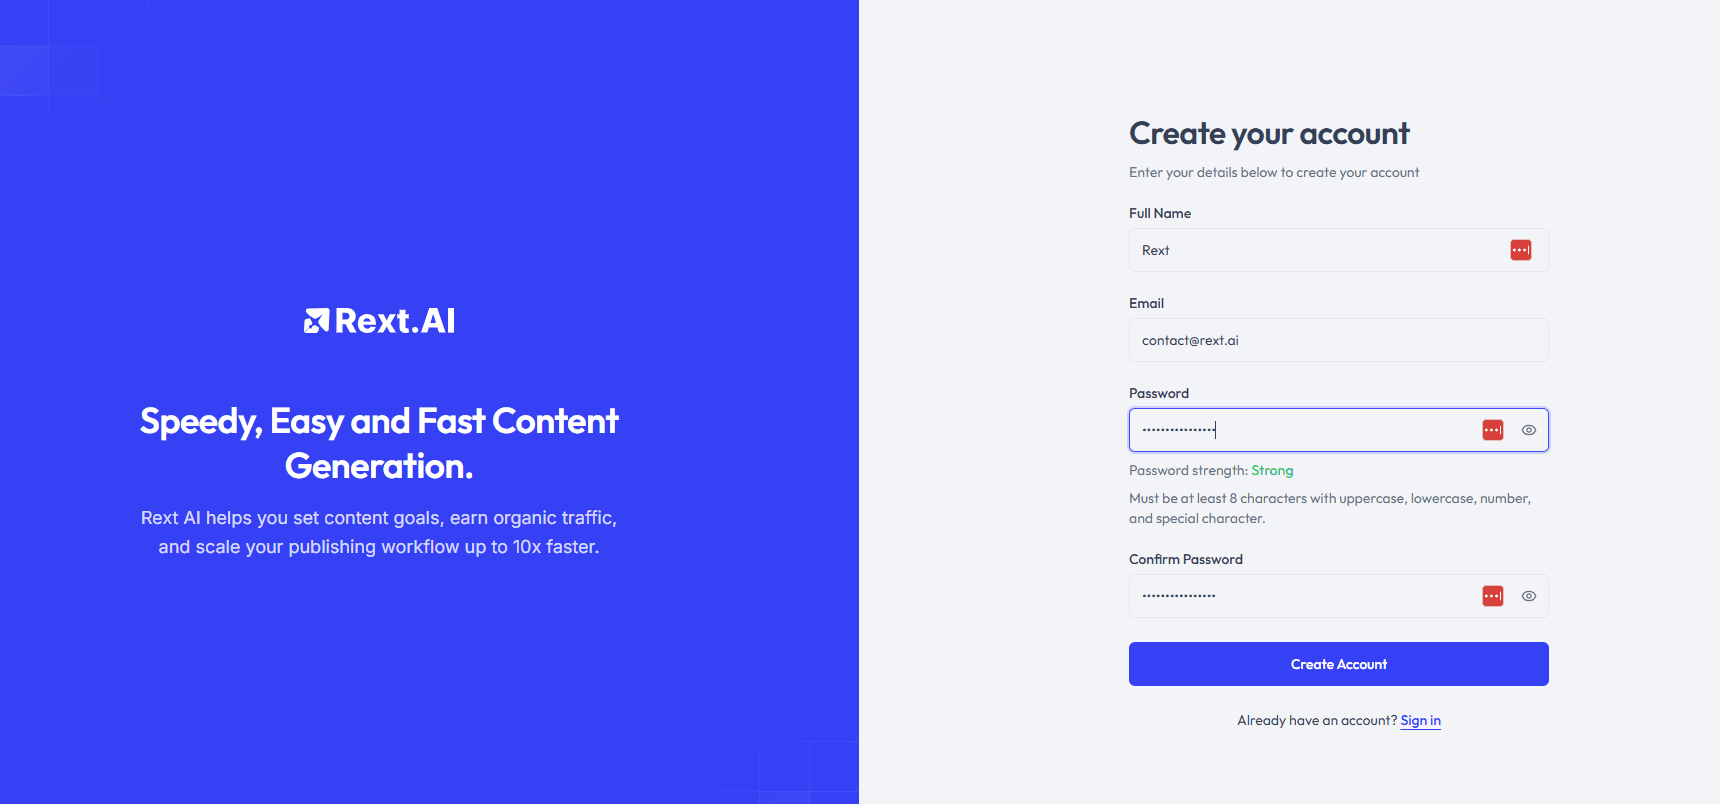
Click the Start Free Trial button on the Rext AI homepage.
After that, a sign-up window will appear where you can create an account by using your email address and setting a password.
Verify Your Email Address
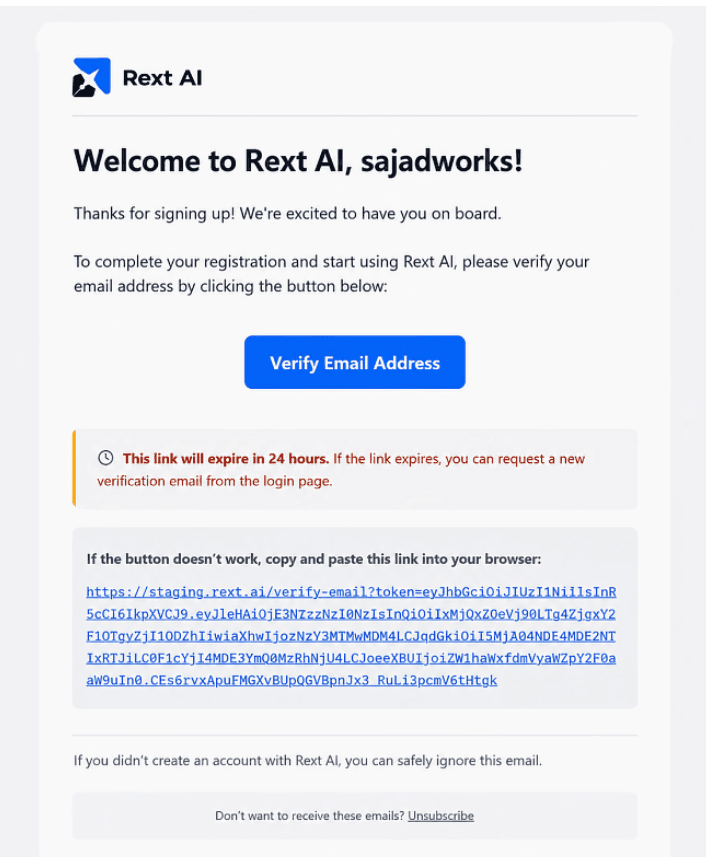
Rext AI sends a verification email to your provided email address.
You have to check your inbox for the verification email, then click the verification link to activate your account. Once verified, you'll be redirected back to Rext AI.
Create Your First Workspace
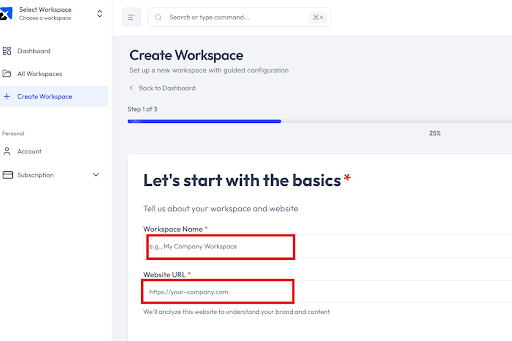
Your workspace keeps your specified company or brand articles, keywords, and team collaboration organized in one place.
You have to add your Workspace name and official website URL for the creation of the workspace.
Wait While Your Workspace Is Being Prepared
Hold on for just a few moments because Rext AI creates your workspace by analyzing your business description, brand voice, target audience, competitors, selling position, content strategy, and adding this information to the workspace automatically.
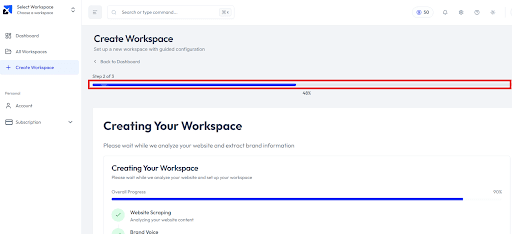
Explore Rext AI Workspace
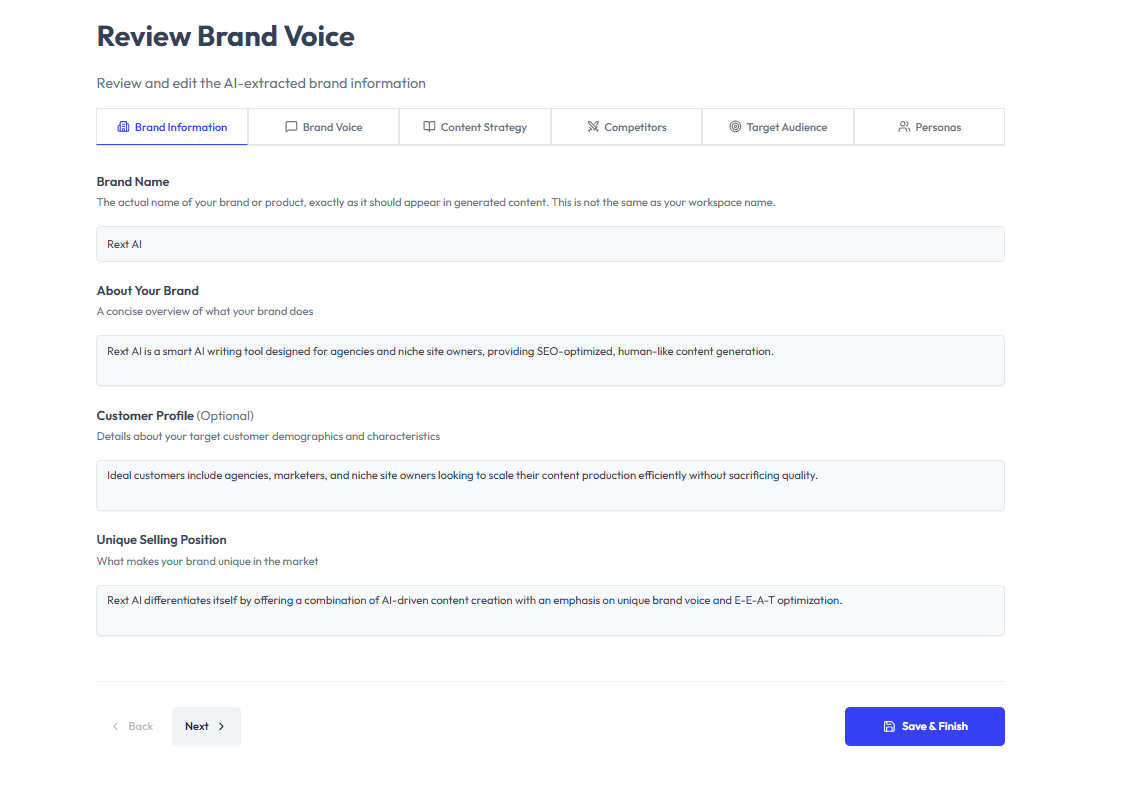
Rext AI automatically fetches your brand-related information and adds that to the workspace.
You can check that data by moving to mini tabs in the workspace, and also if you wanna change or add something more related to your brand, you can add that.
You can add or change the information about your brand like, its Voice, content strategy, competitors, target audience and personas. You can enter your desired information here and then click on save and finish, now Rext AI saves your provided information and generate content according to that.
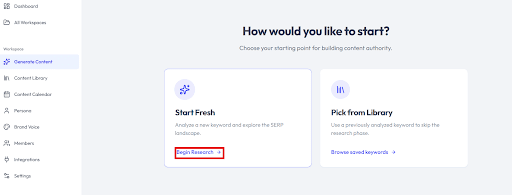
Create a New Project
To start your project, click on “Begin Research” in the Start Fresh Box.
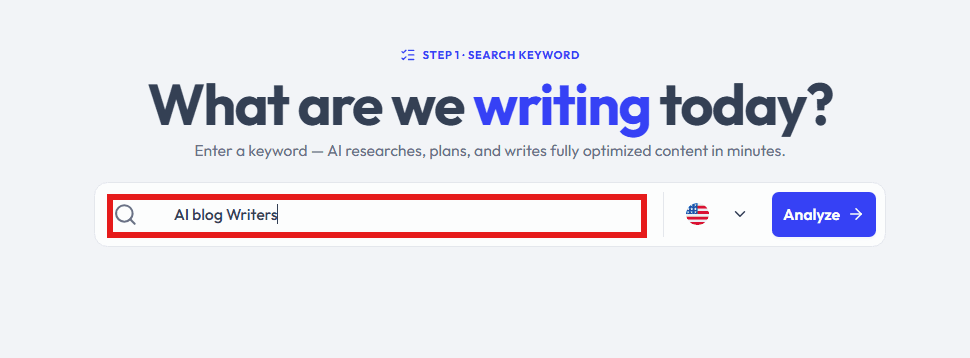
Enter Keyword for Your Blog
You have to enter a keyword for which you need article/ blog in the search bar appearing on screen and wait for your seed word to start the process
Let Rext AI do its job:
RRext AI analyzes the provided keyword, performs in-depth analysis, and then provides you with Keyword Intent, Keyword Volume, and Difficulty scores for that keyword.
At the top, a bar shows how much progress is made in percentage, and if you wanna cancel the process or wanna change your keyword, you can click the cancel button.
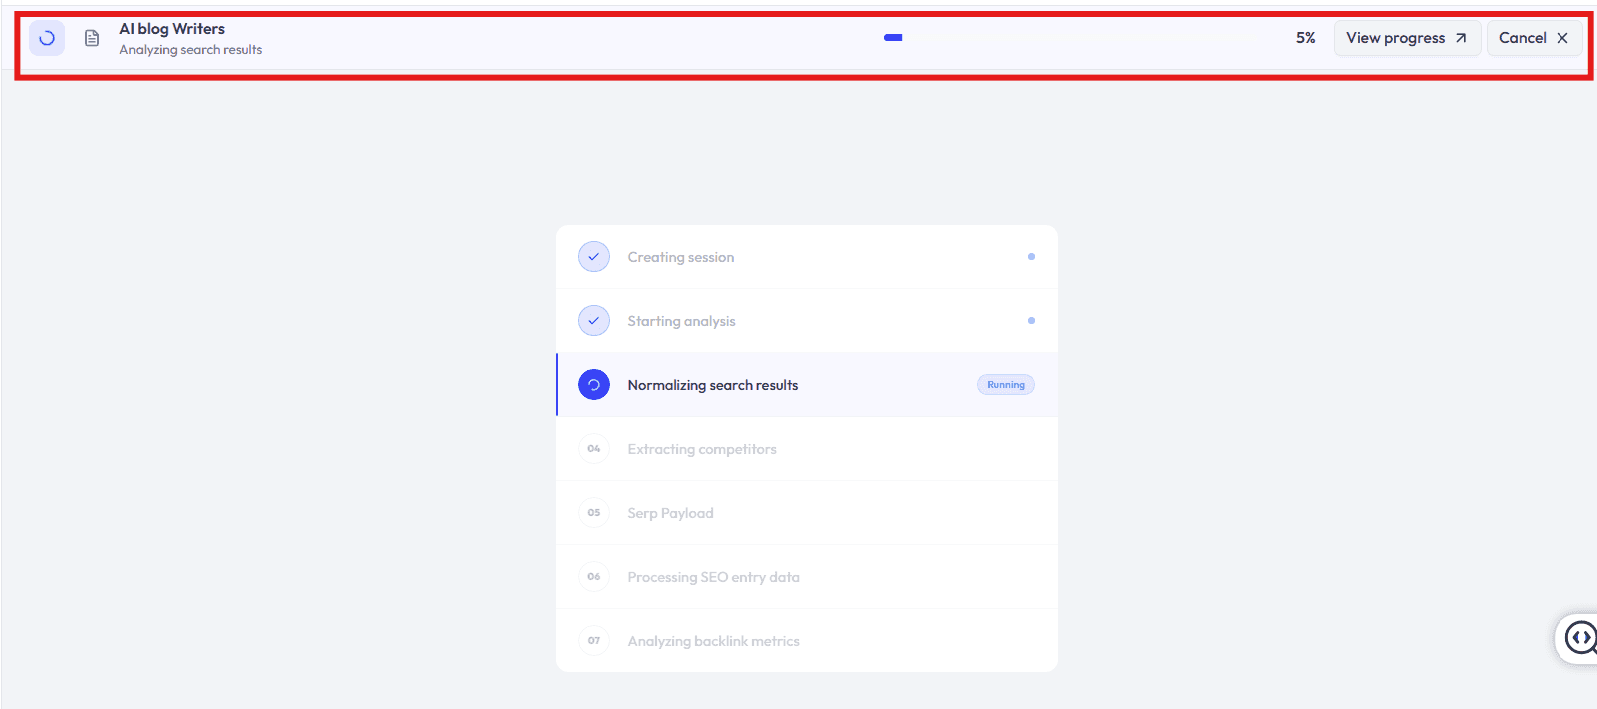
See search results
After researching the keyword, Rext AI provides you with keyword-related information along with other smart keyword options related to your search.
If you wanna choose a keyword from REXT AI suggestions, you can choose that; otherwise, click the arrow for further processing.
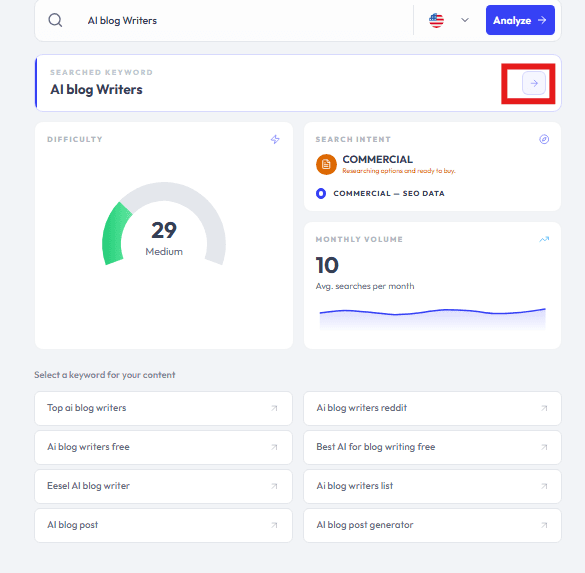
Choose Content Type
Rext AI provides you with a list of Content structure options that suit your keyword with a recommended type; you can select the format that fits your strategy.
Choose your preferred content type and proceed.
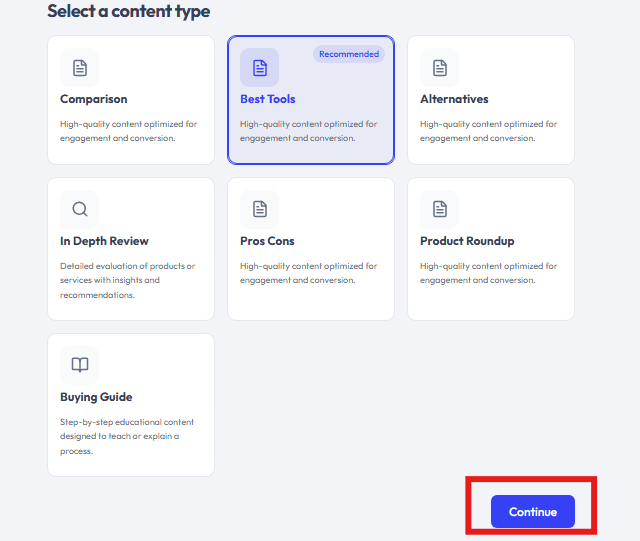
Choose the topic
Then Rext AI provides you with the best title options based on your chosen keyword, along with one recommended option. You can select the topic for outline generation, or go with the recommended title by clicking the Continue button.
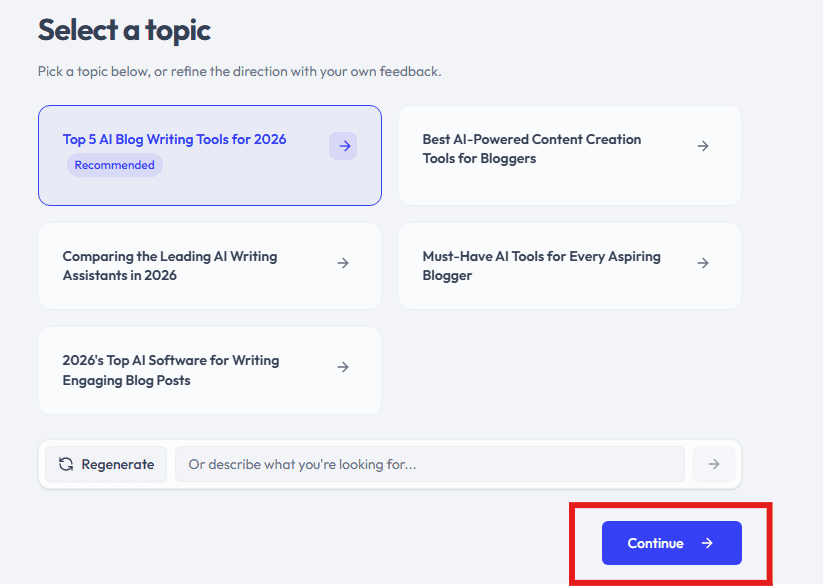
Review and Approve the Outline
After processing is complete, you'll see the outline generated by Rext AI.
Review the headings, structure, and overall direction before continuing.
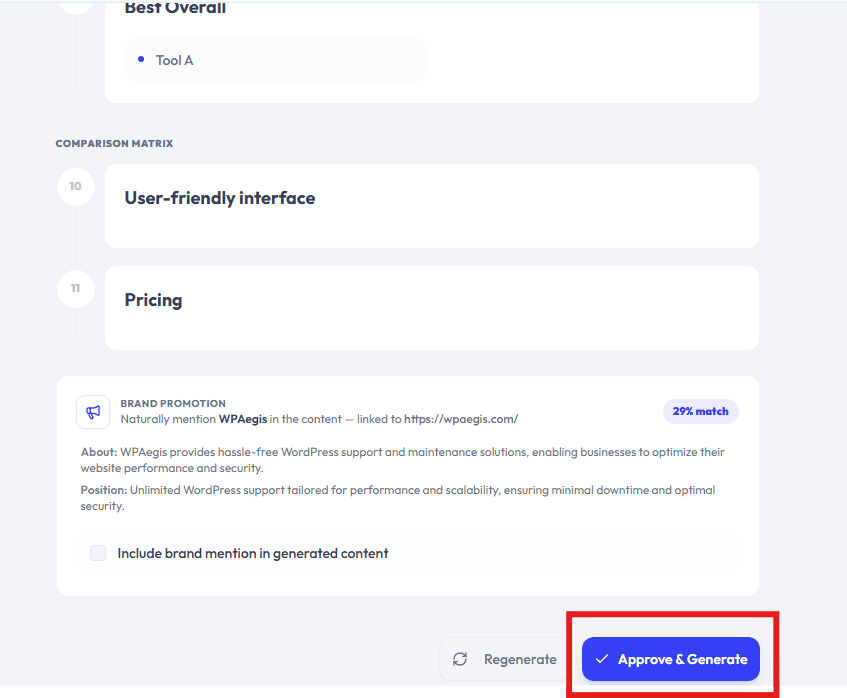
Also, a suggestion at the end of the outline needs your approval for promotion of your brand.
If you don’t like the outline:
If you are not satisfied with the outline, you can regenerate it by providing your recommendations in the box.
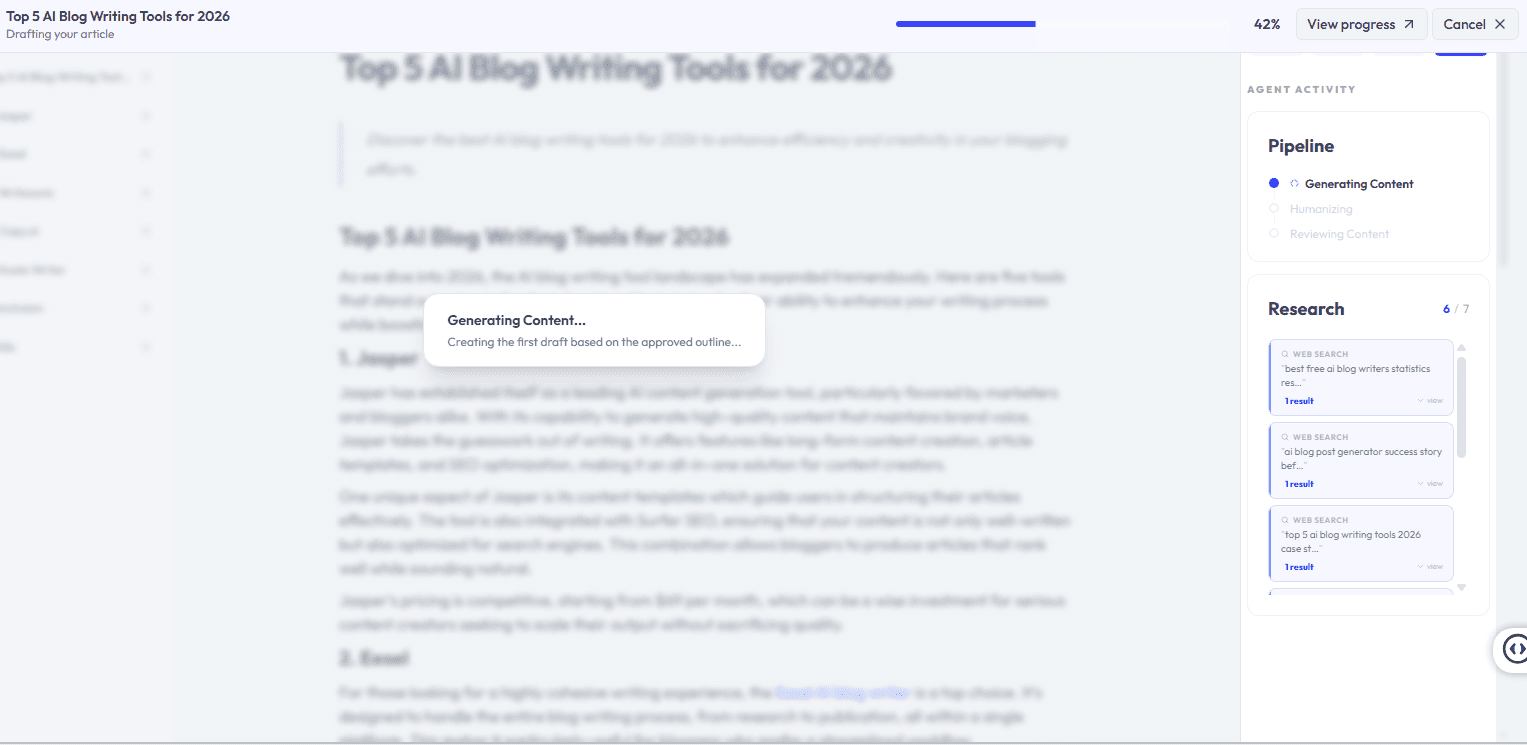
Rext AI is generating
After getting complete information from you, Rext AI started generating an article based on your requirements. Just wait for the content generation; this only takes a few moments.
Complete the Final Setup
Congratulations! 🎉
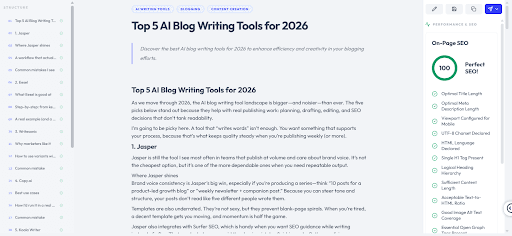
Your first article with Rext AI is fully completed and needs your approval.
From here, you can begin generating SEO-friendly articles, organize projects, collaborate with your team, and streamline your content workflow, all from one place.
Your content is:
- EEAT-aligned
- Structured for readability
- Humanized in tone
- Optimized for SEO
Review the draft and make any final edits if needed.
Your content is now ready.
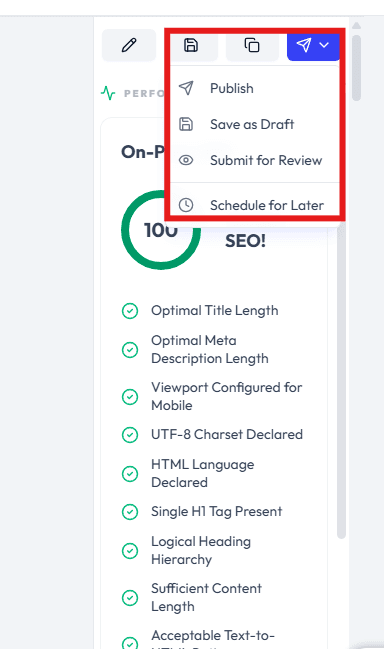
More Options:
Rext AI provides you with more options regarding what you want to do with this generated article.
Either you want to
- Publish it on WordPress (after integration with WordPress)
- Save as draft
- Submit for review
- Schedule publish for later