
This guide walks you through every step needed to install the Rext AI WordPress plugin and connect it to your Rext AI dashboard — so you can publish AI-generated articles directly to your website with a single click.
Install the WordPress Plugin
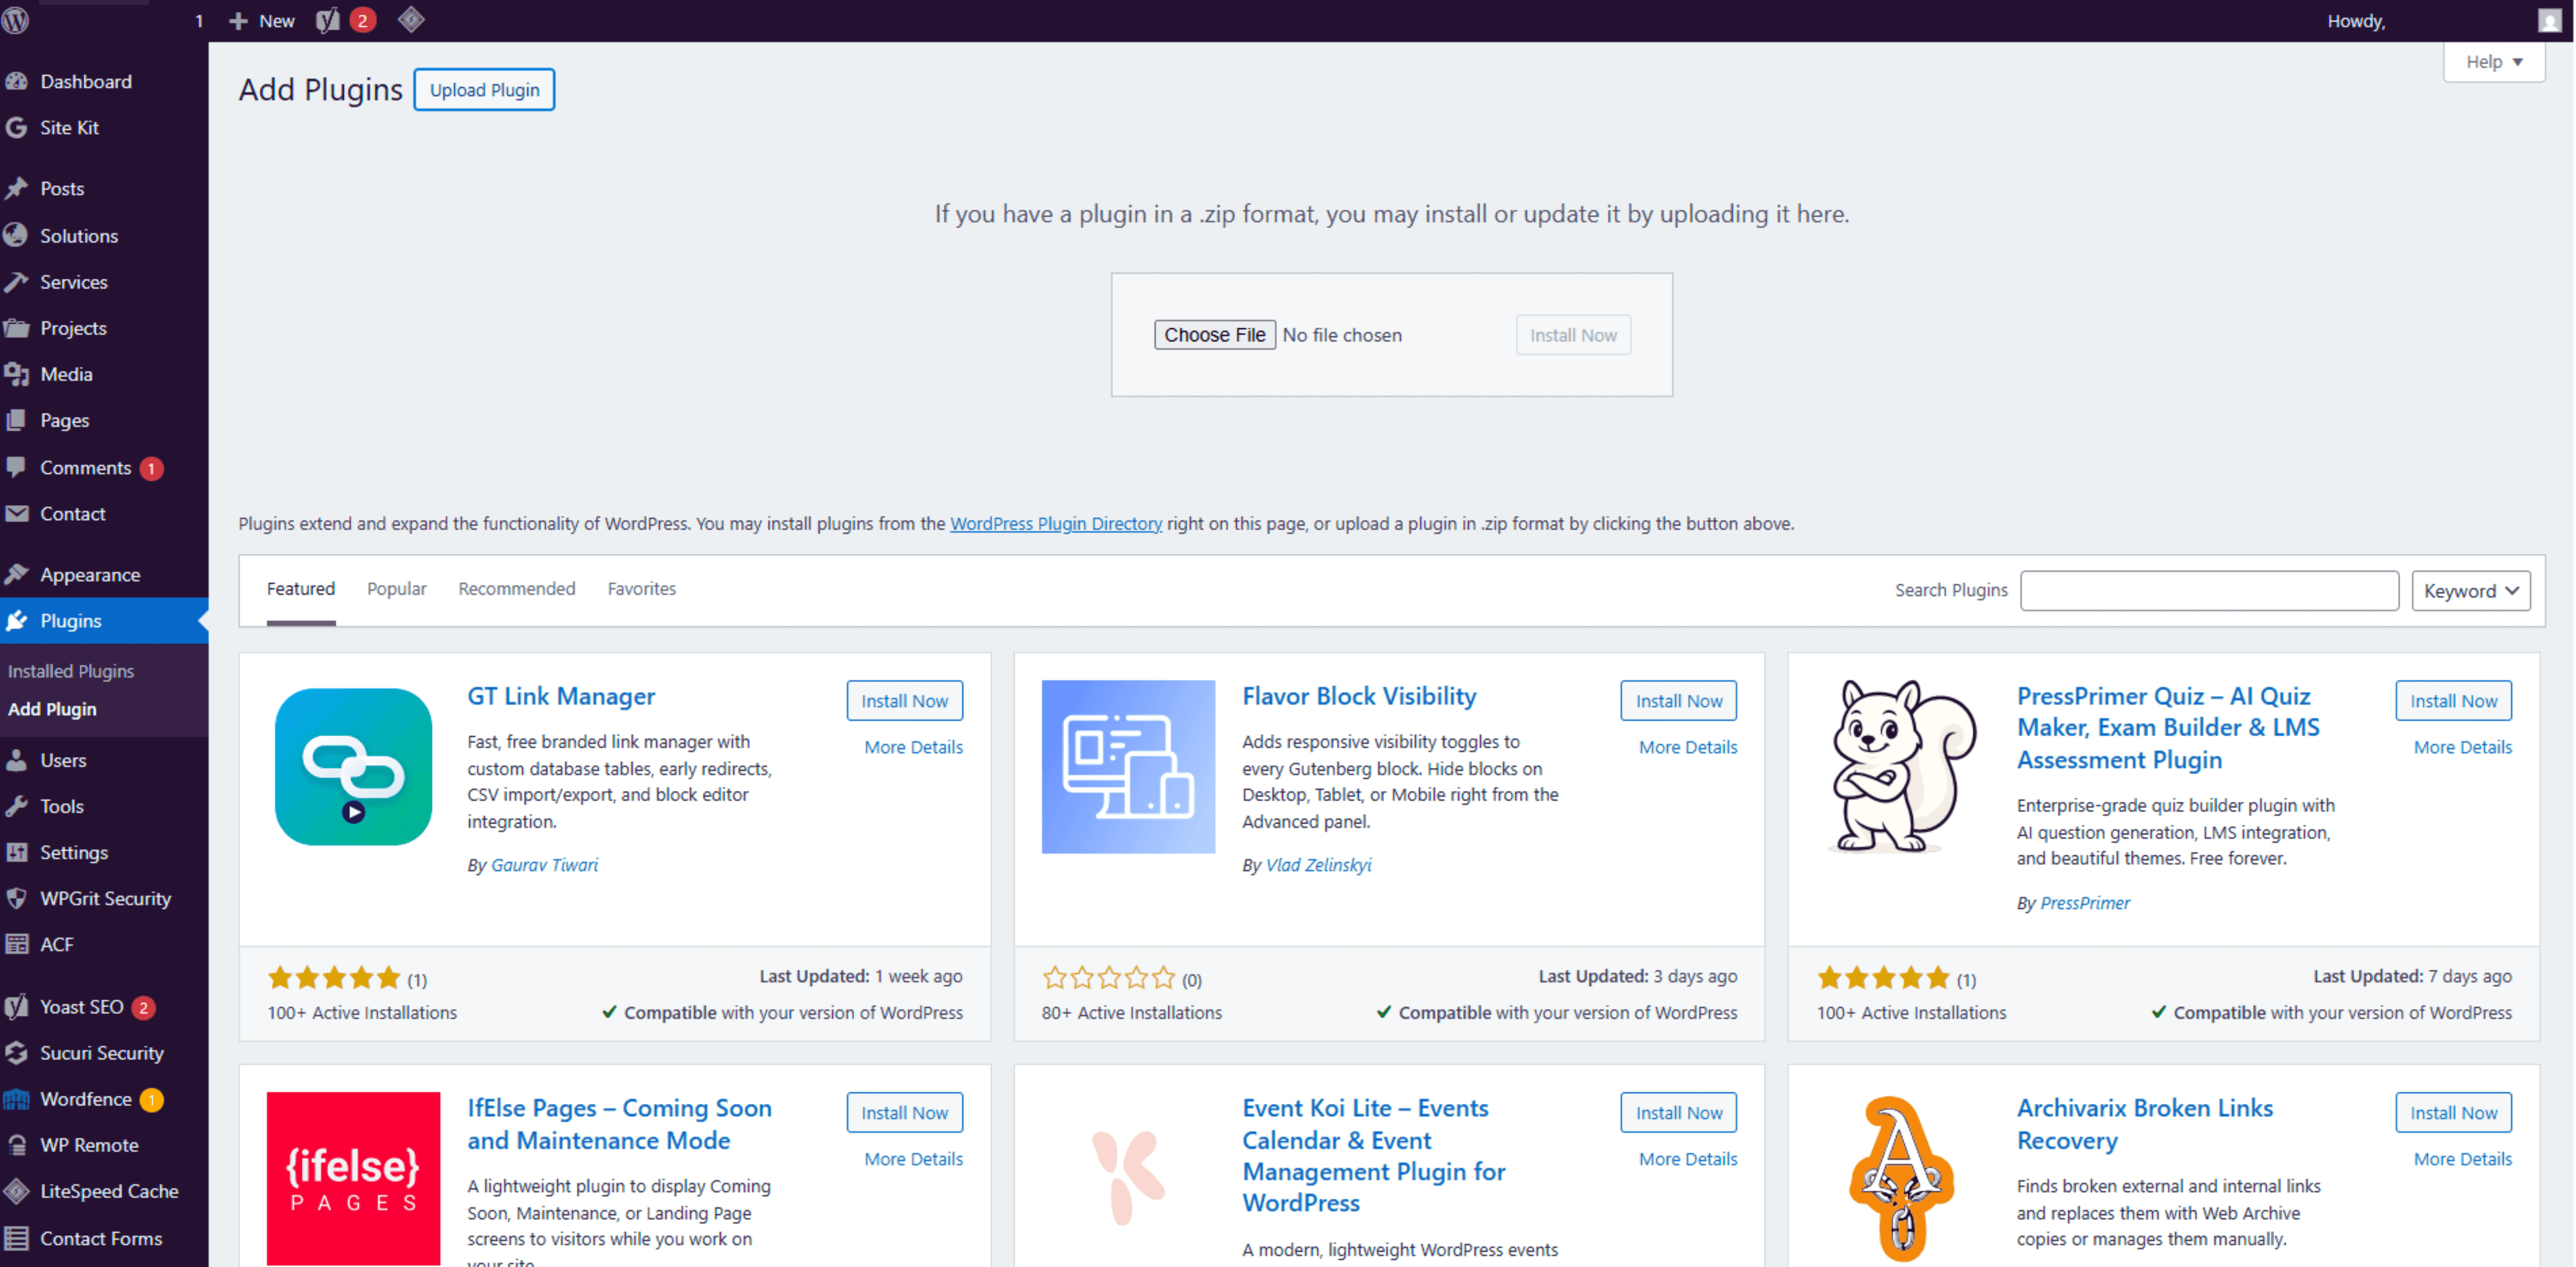
Download the Rext AI WordPress Plugin. Go to your WordPress Admin Dashboard and navigate to Plugins → Add New → Upload Plugin.
Upload the plugin .zip file and click Install Now. After installation, click Activate.
Open the Rext AI Menu
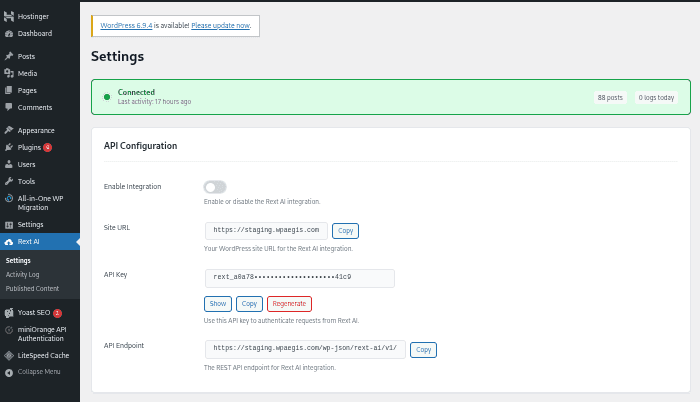
After activation, a new menu called Rext AI will appear in the right sidebar of the WordPress admin panel.
Click Rext AI to open the integration settings.
Enable Integration
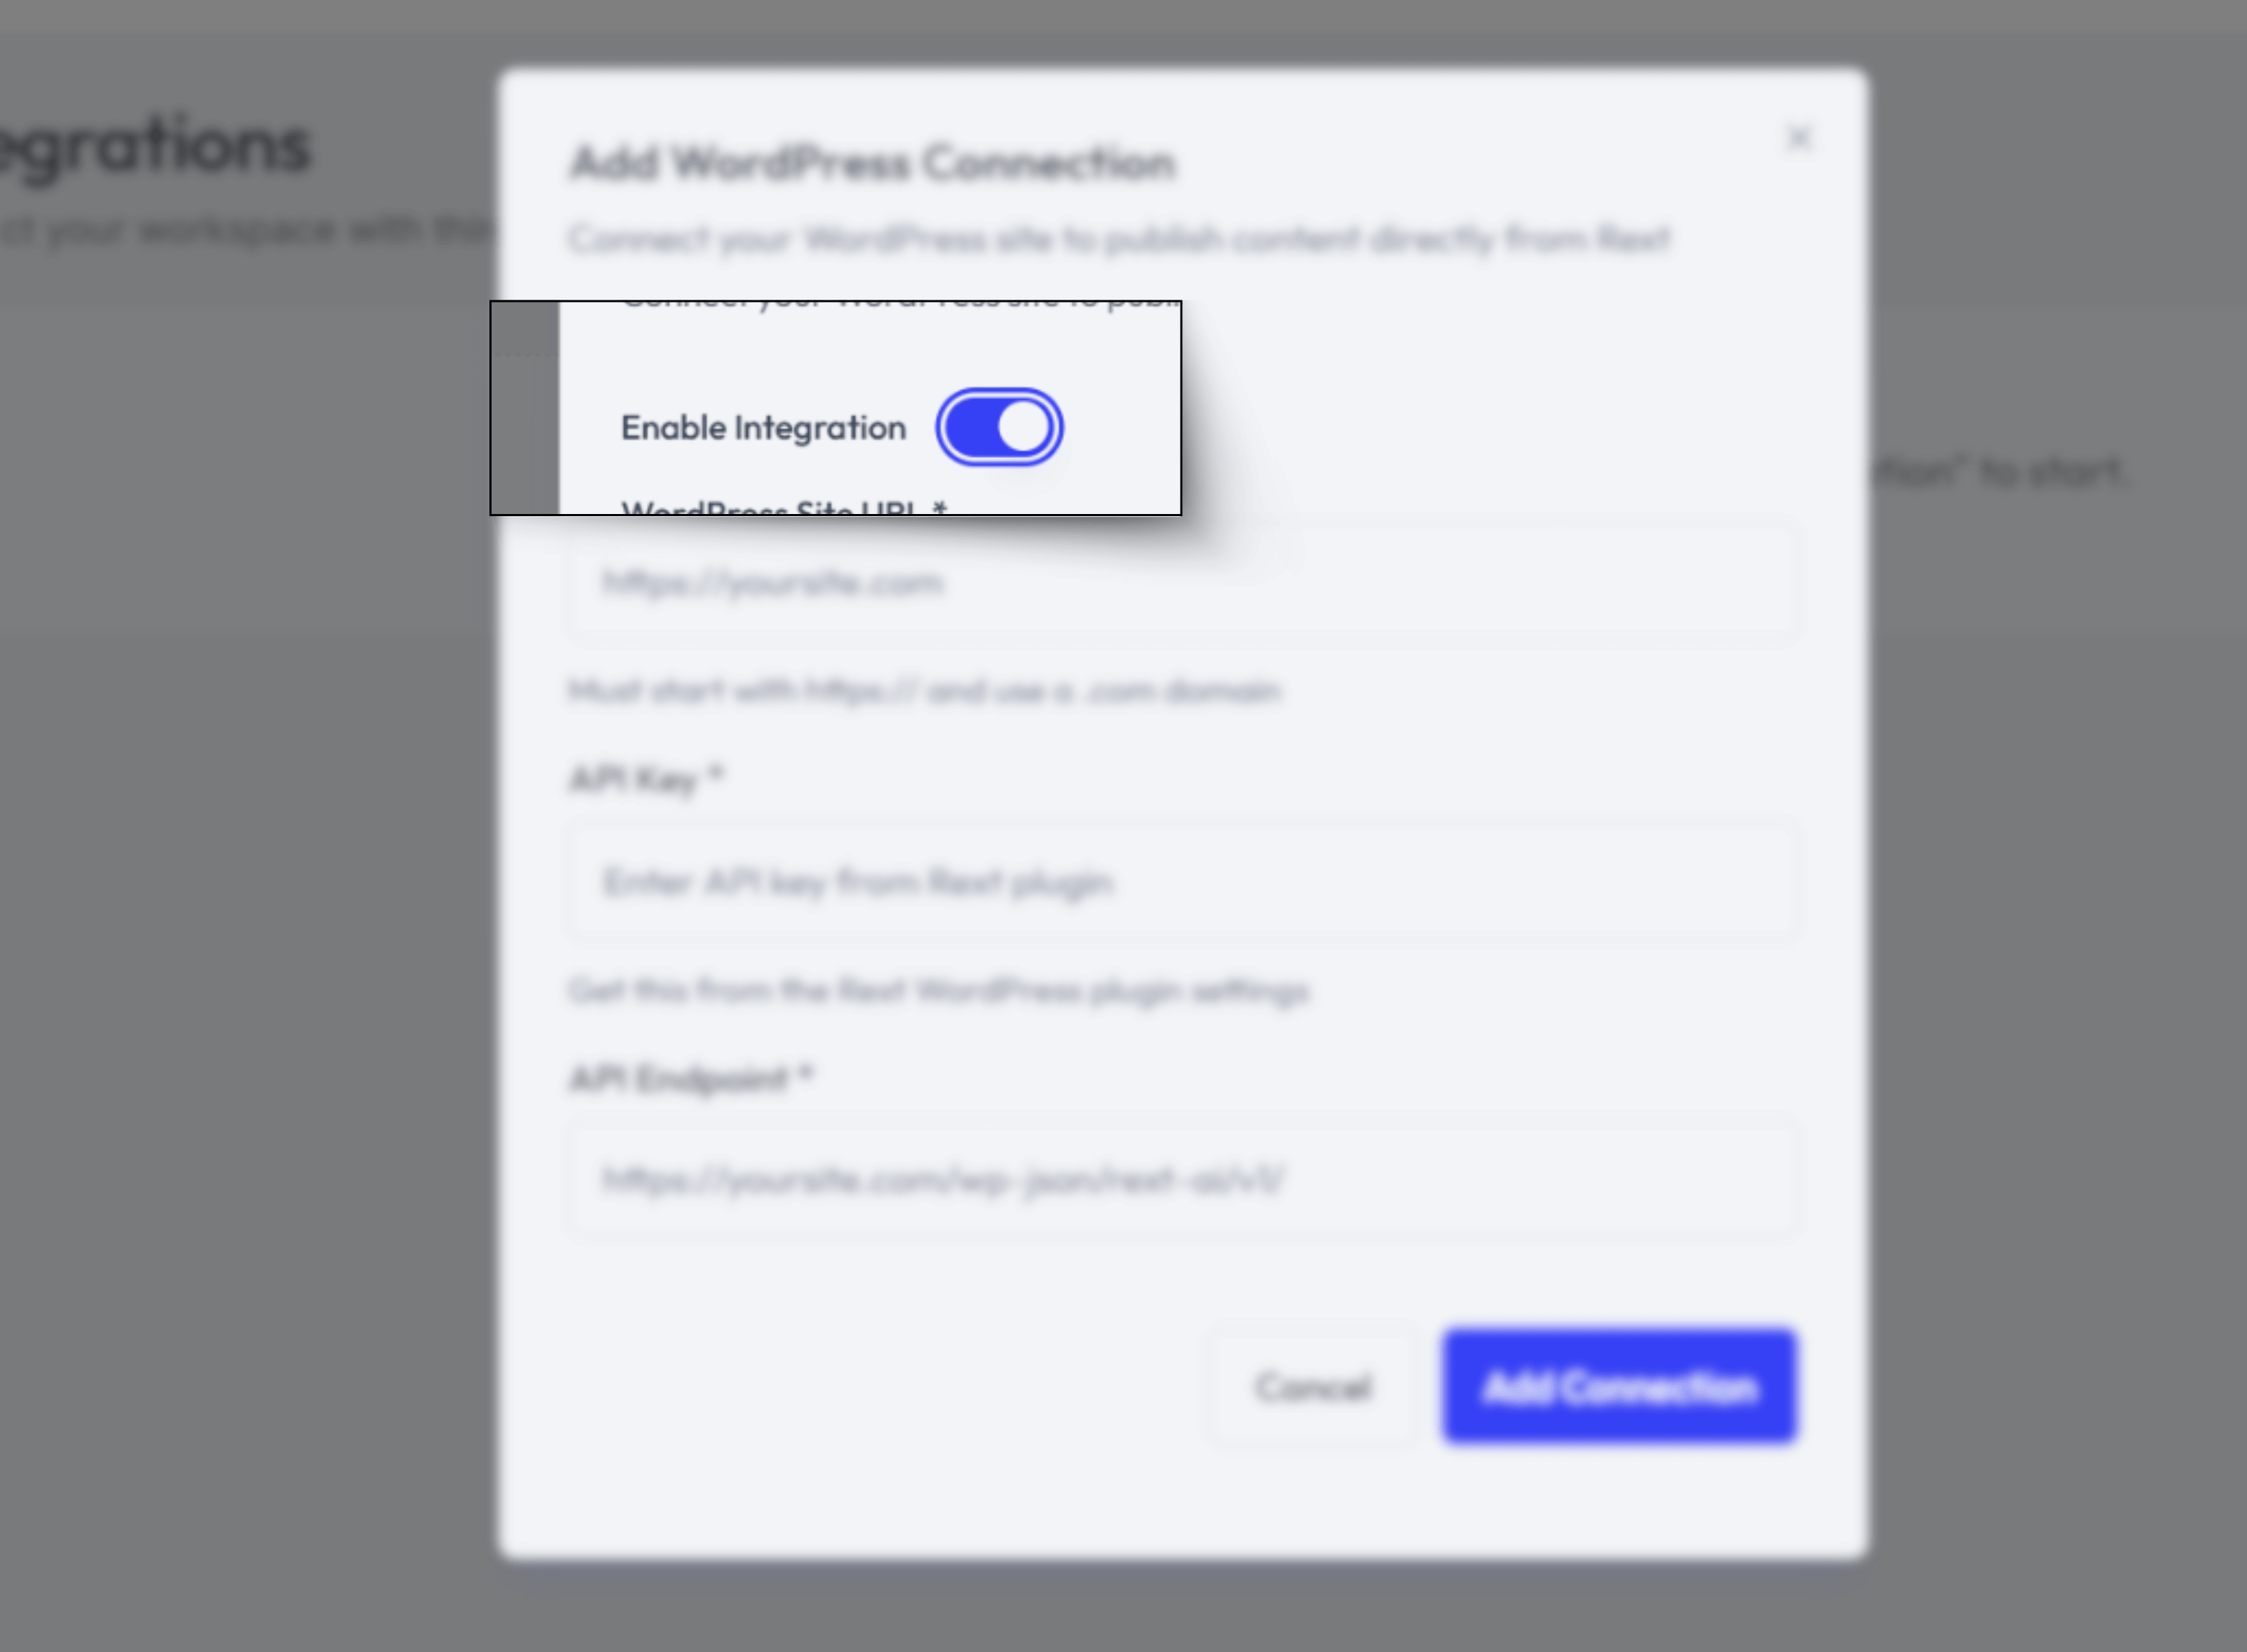
Inside the Rext AI settings page, turn Enable Integration ON.
This allows WordPress to accept content published directly from Rext AI.
Add Site URL
Enter your WordPress site URL in the field provided.
https://yourwebsite.com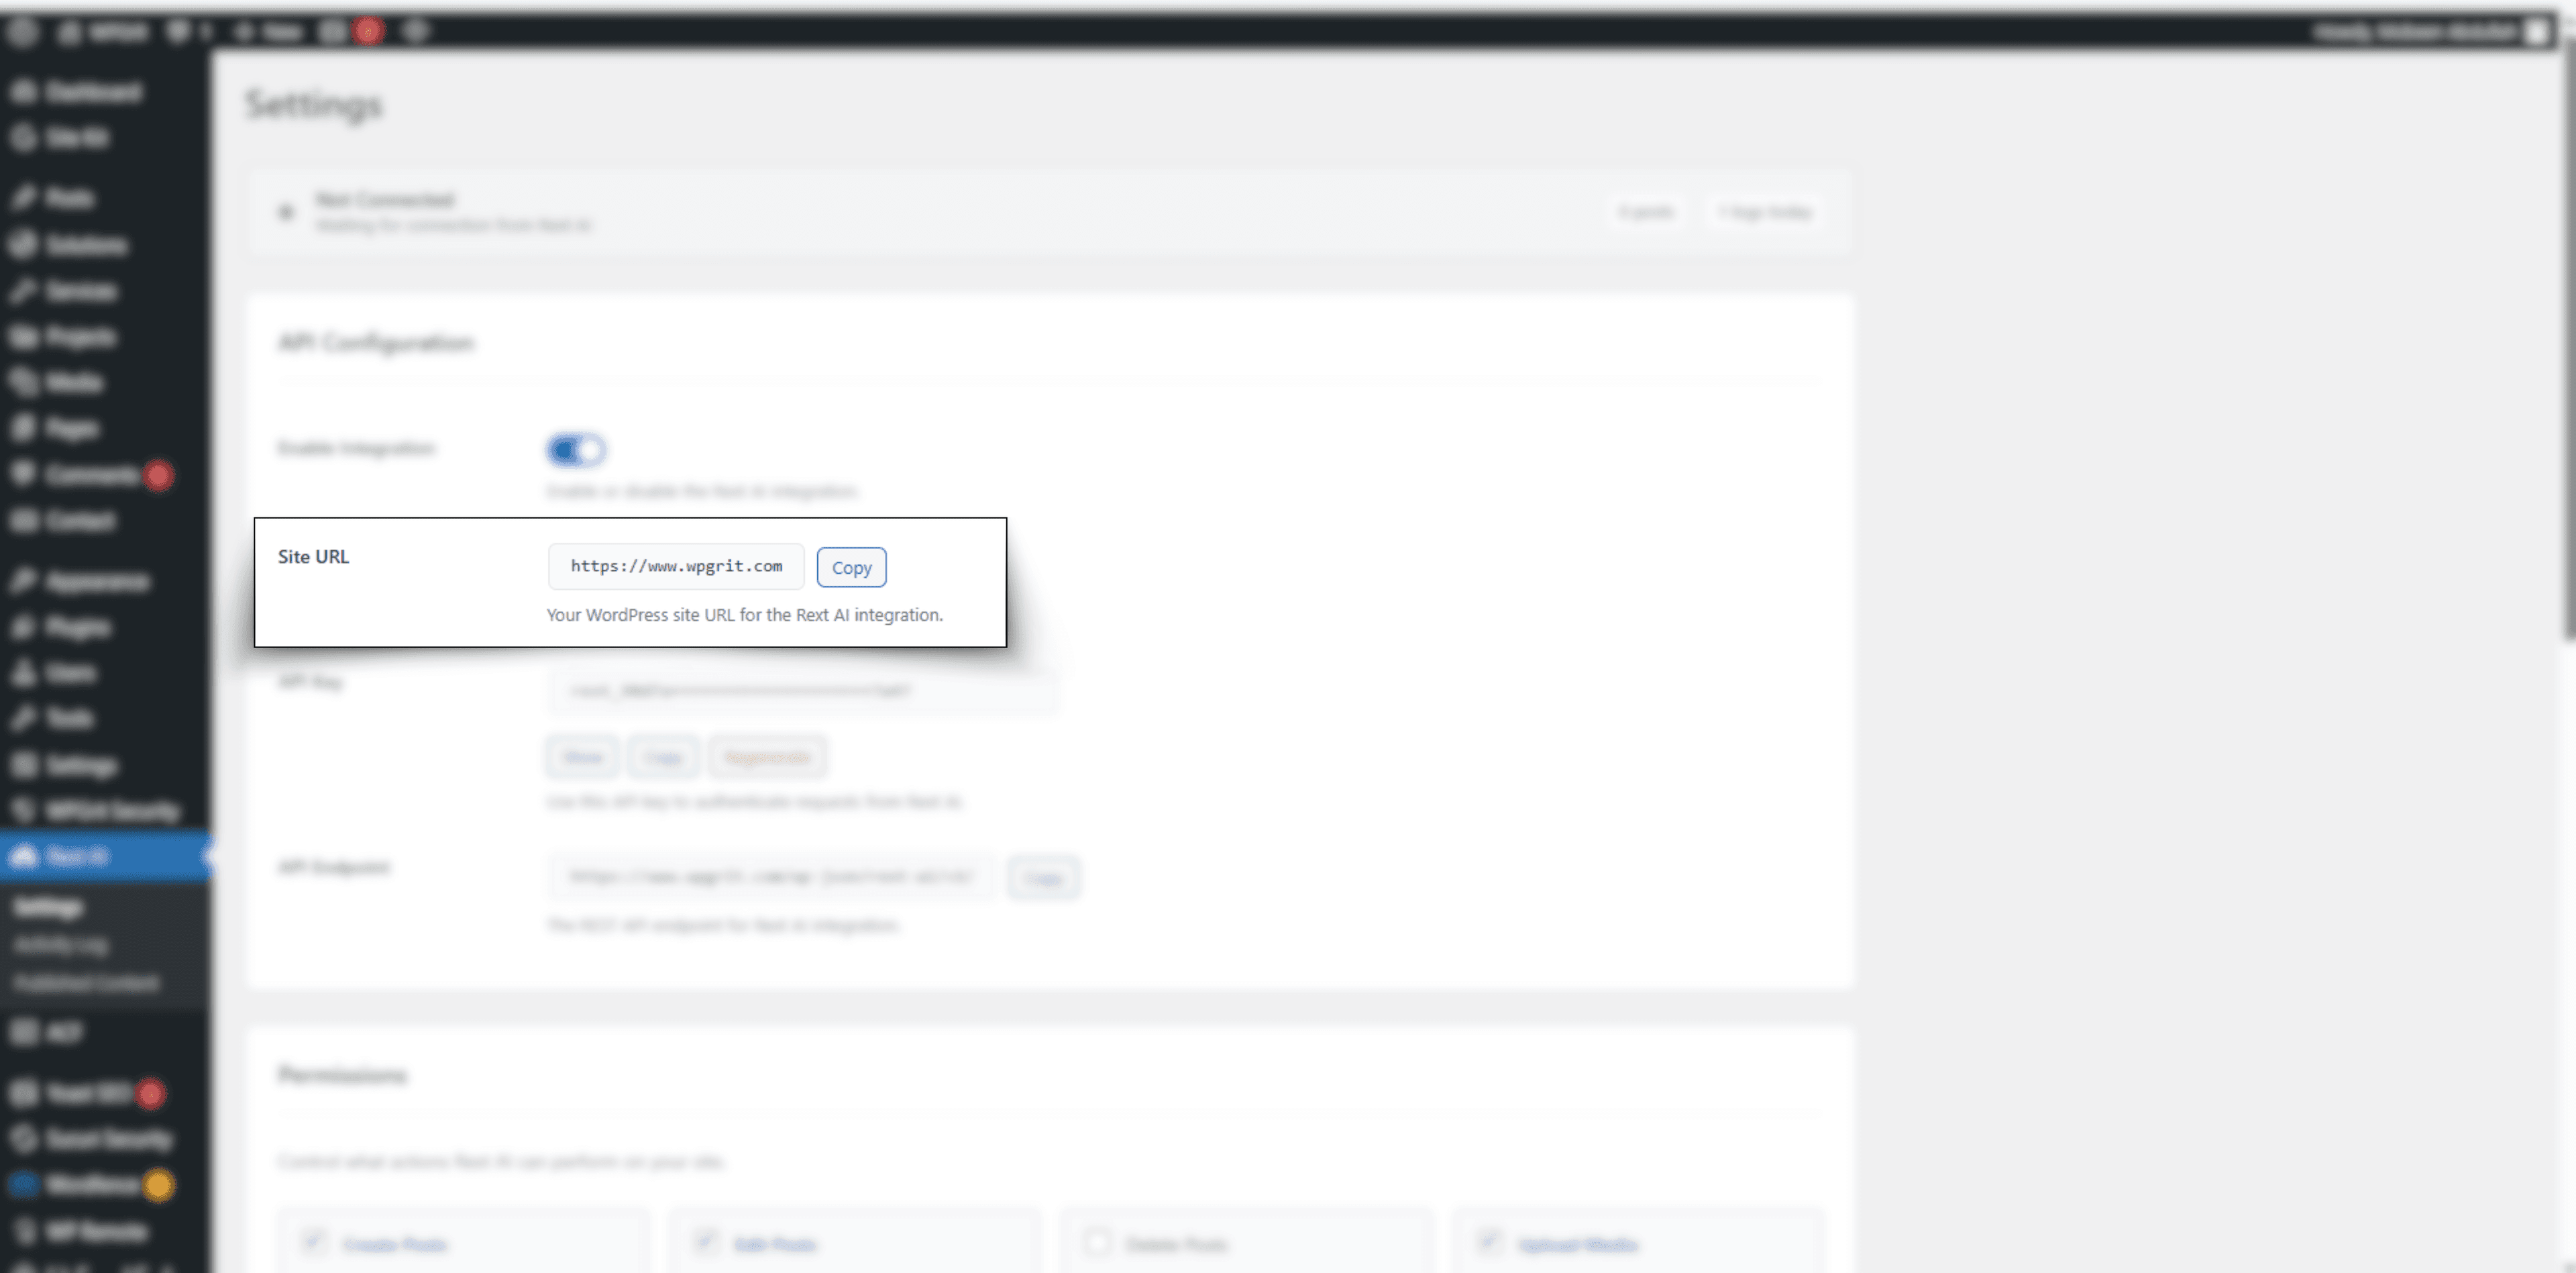
Enter API Key
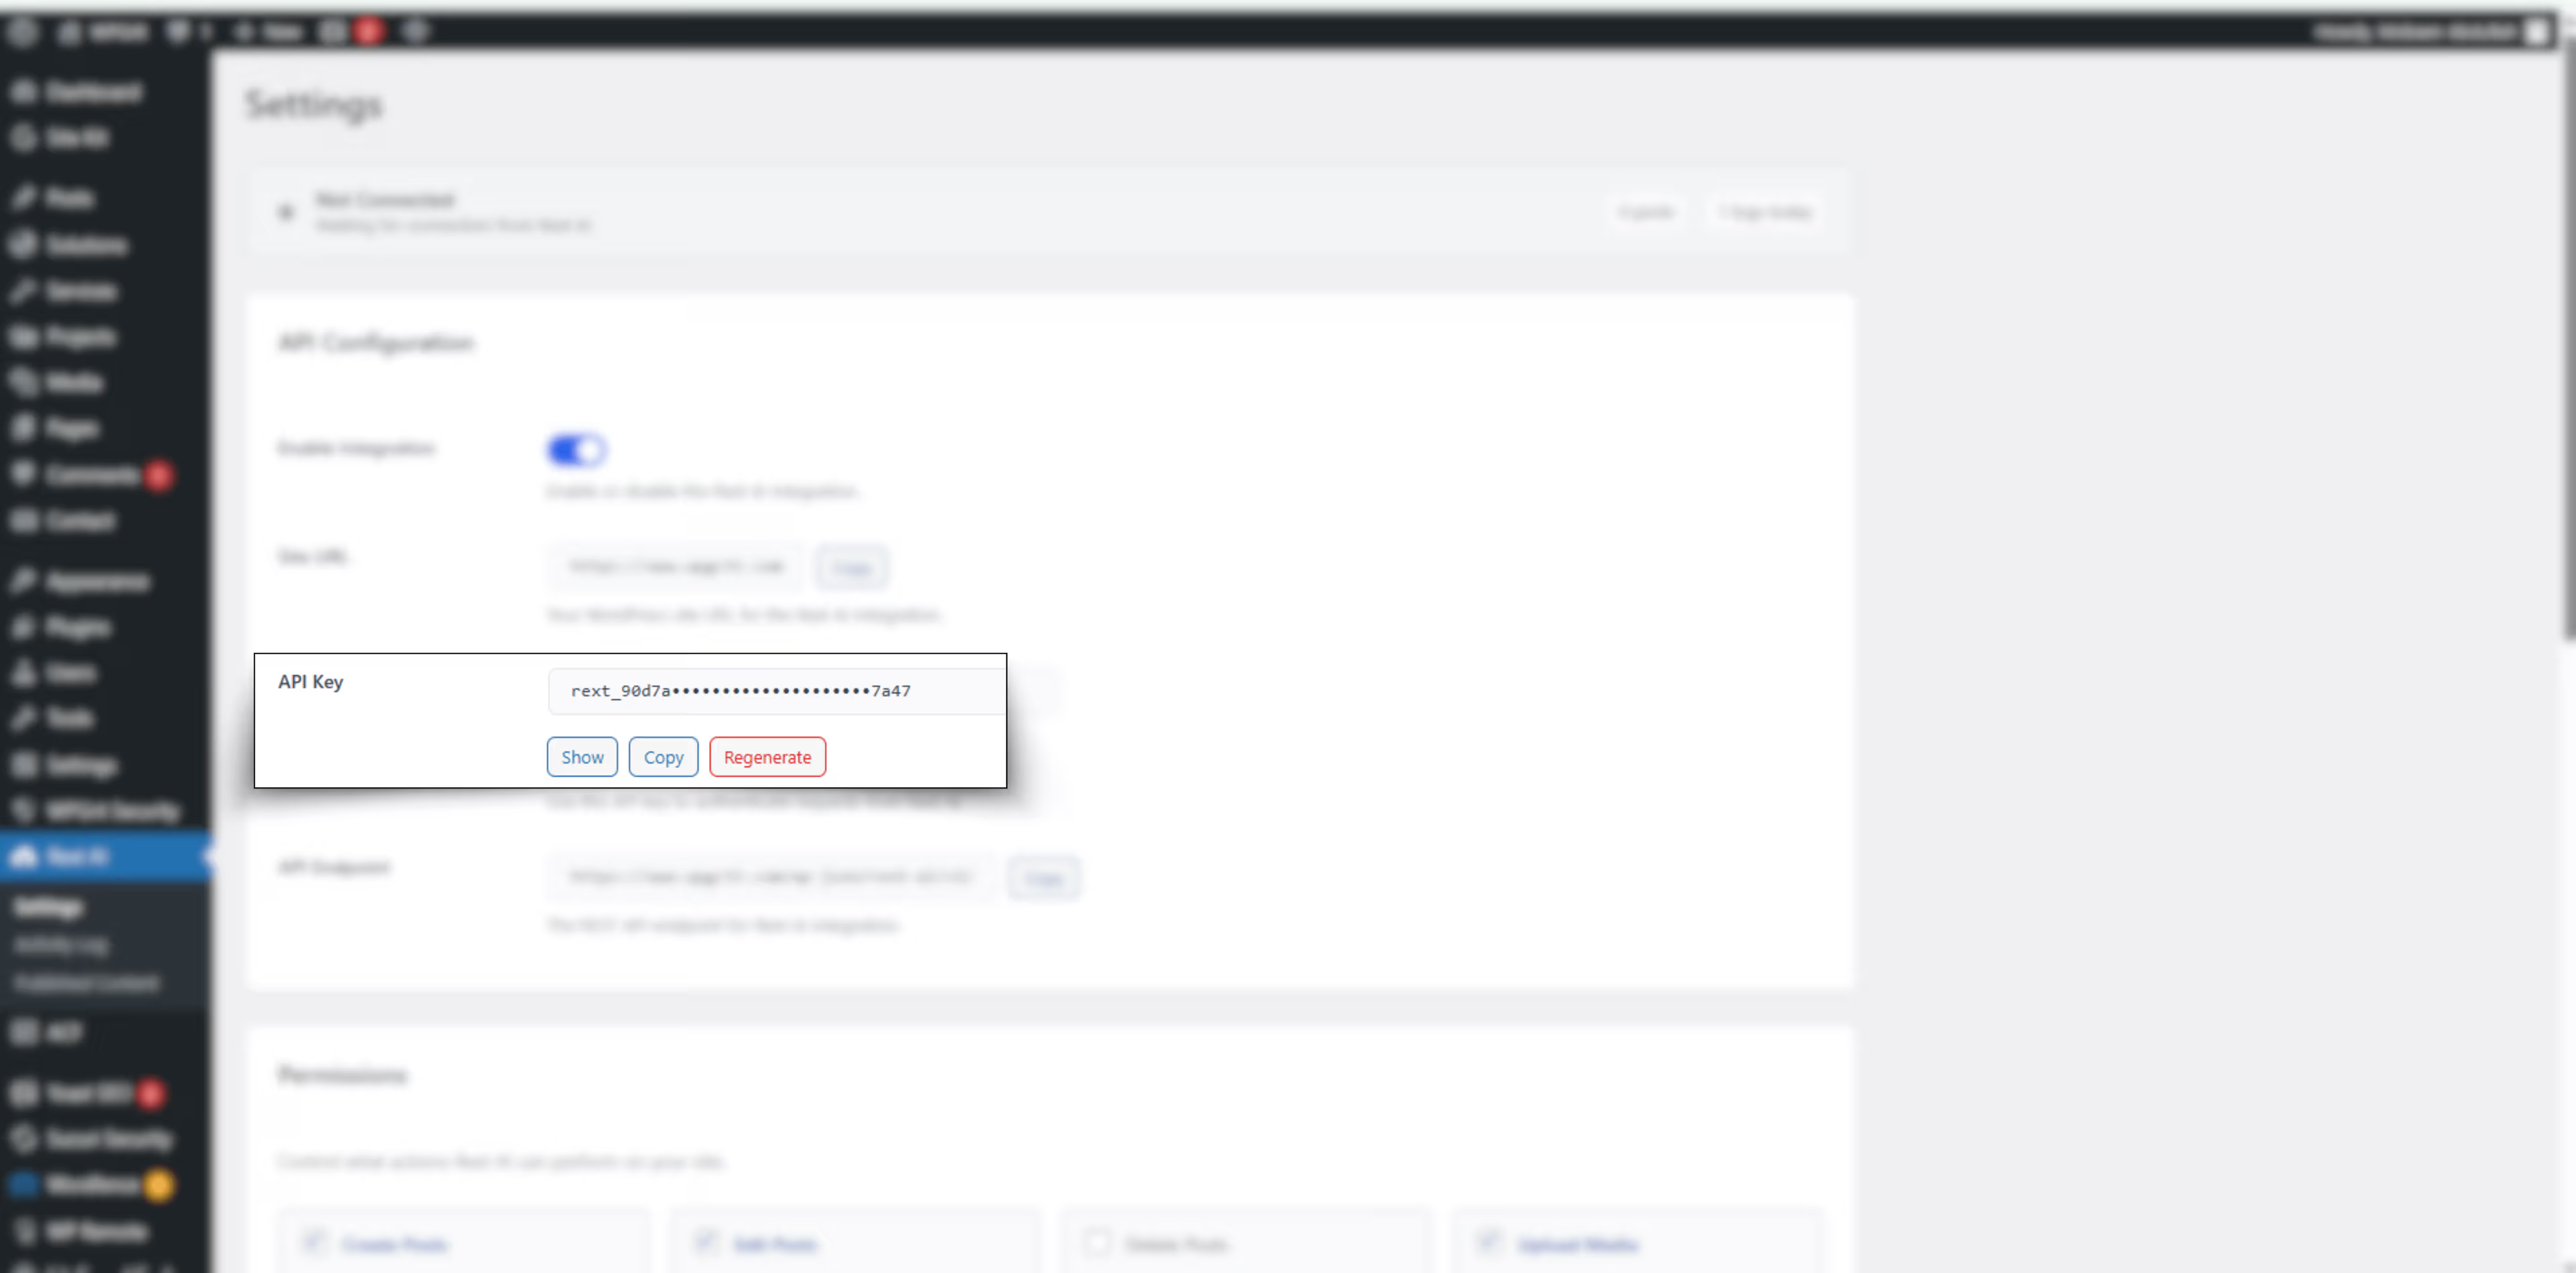
Copy the API Key from your Rext AI dashboard and paste it into the API Key field in the WordPress plugin settings.
Add API Endpoint
Enter the API Endpoint provided by Rext AI.
https://app.rext.ai/api/publishWrite Content in Rext AI
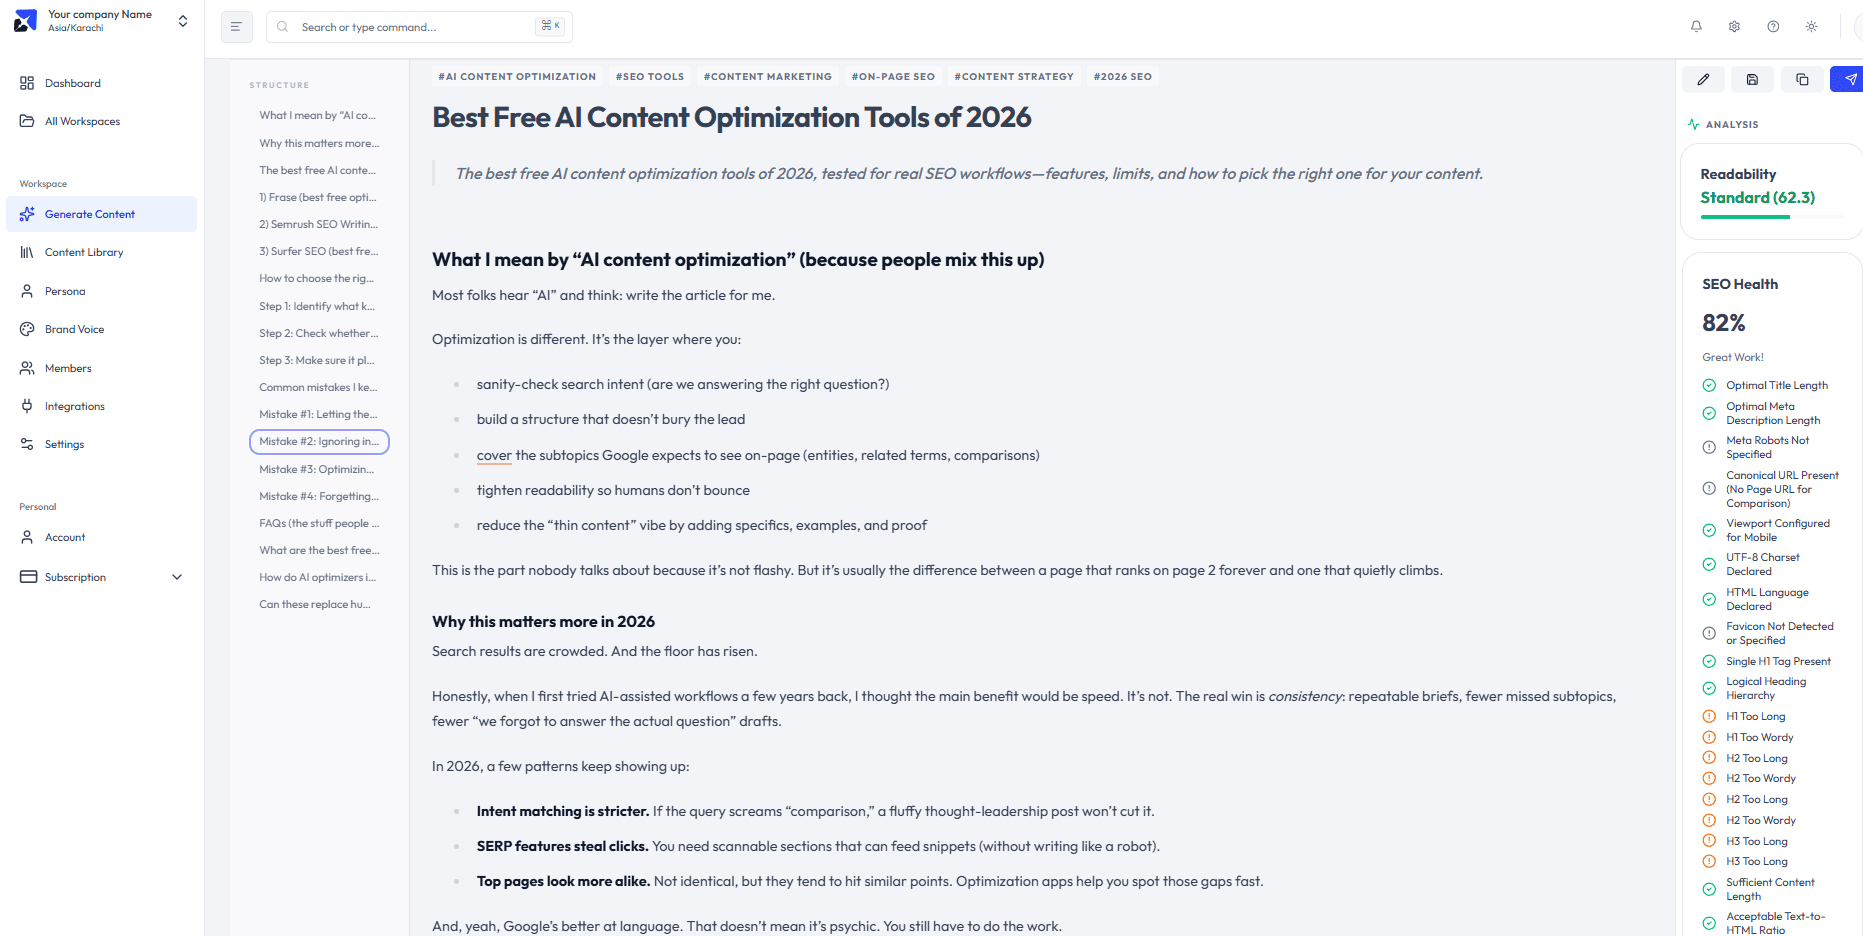
Go to your Rext AI dashboard. Generate or write your content using the built-in content editor.
Publish the Article
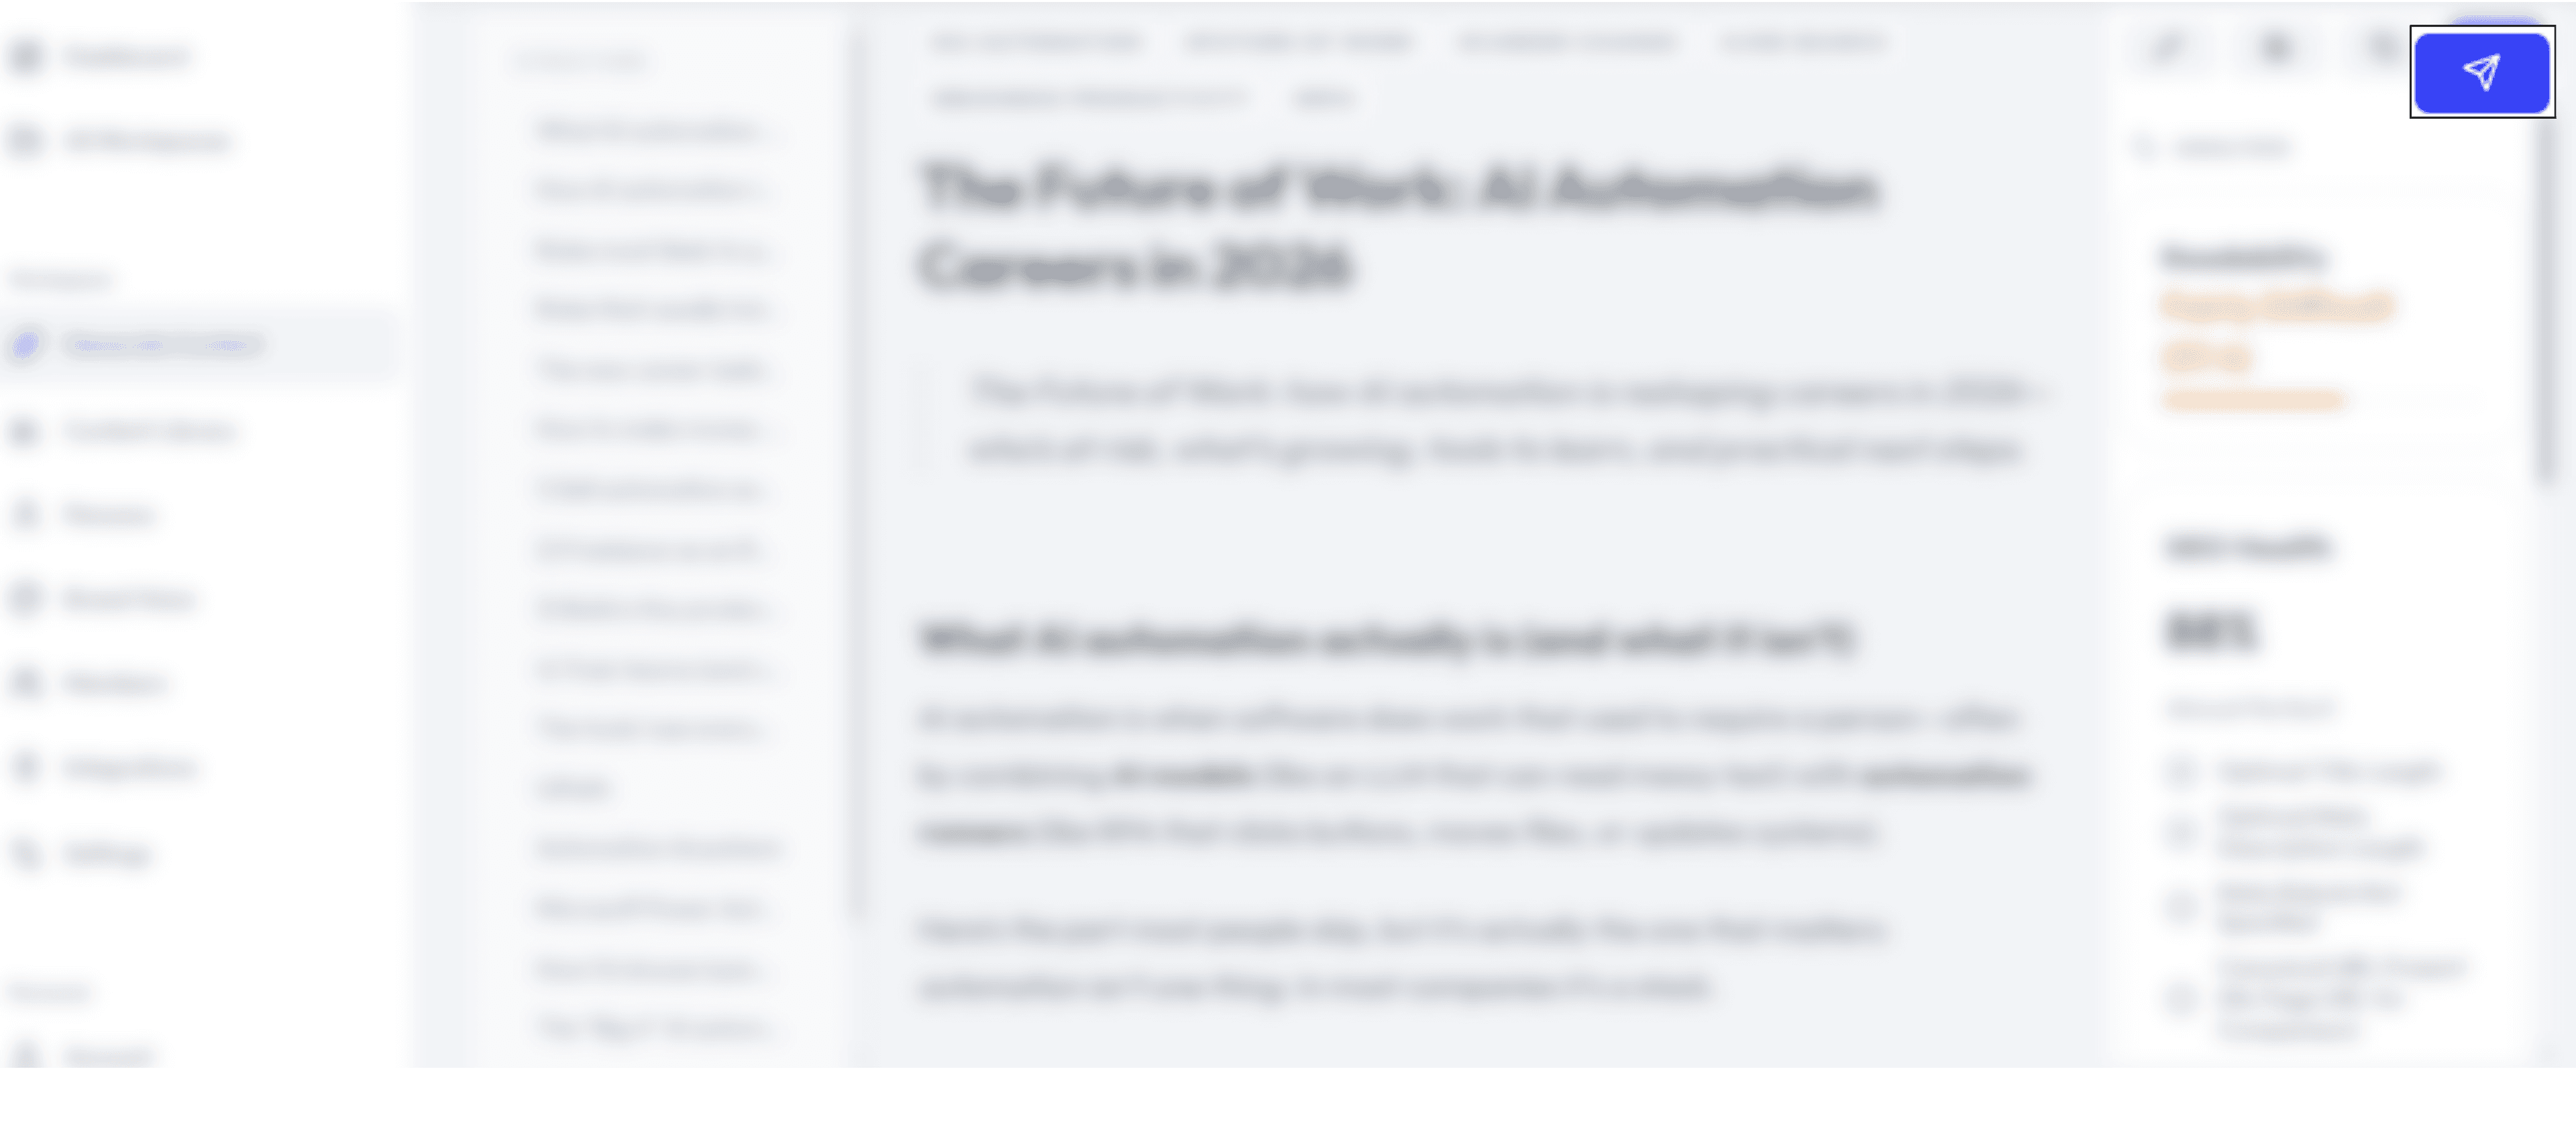
When your content is ready, click the Publish button located at the top-right corner.
The article will automatically be published to your connected WordPress site — no copy-pasting required.
You're all set!
Your Rext AI account is now connected to WordPress. Every article you publish from Rext AI will instantly appear on your site — fully formatted, with metadata and images included.
Get Started with Rext AI